A Multi-Die Project can be created the same way as creating a normal project, except for ticking the box “Multi-Die Project”. If you do not know, how to create a Multi-Die project, click here.
In order to work with a Multi-Die Project you need to select a compatible scanner in your settings.
To work work a Multi-Die Project, click on the project in your overview. 
Click on the white space to type the name of the project.
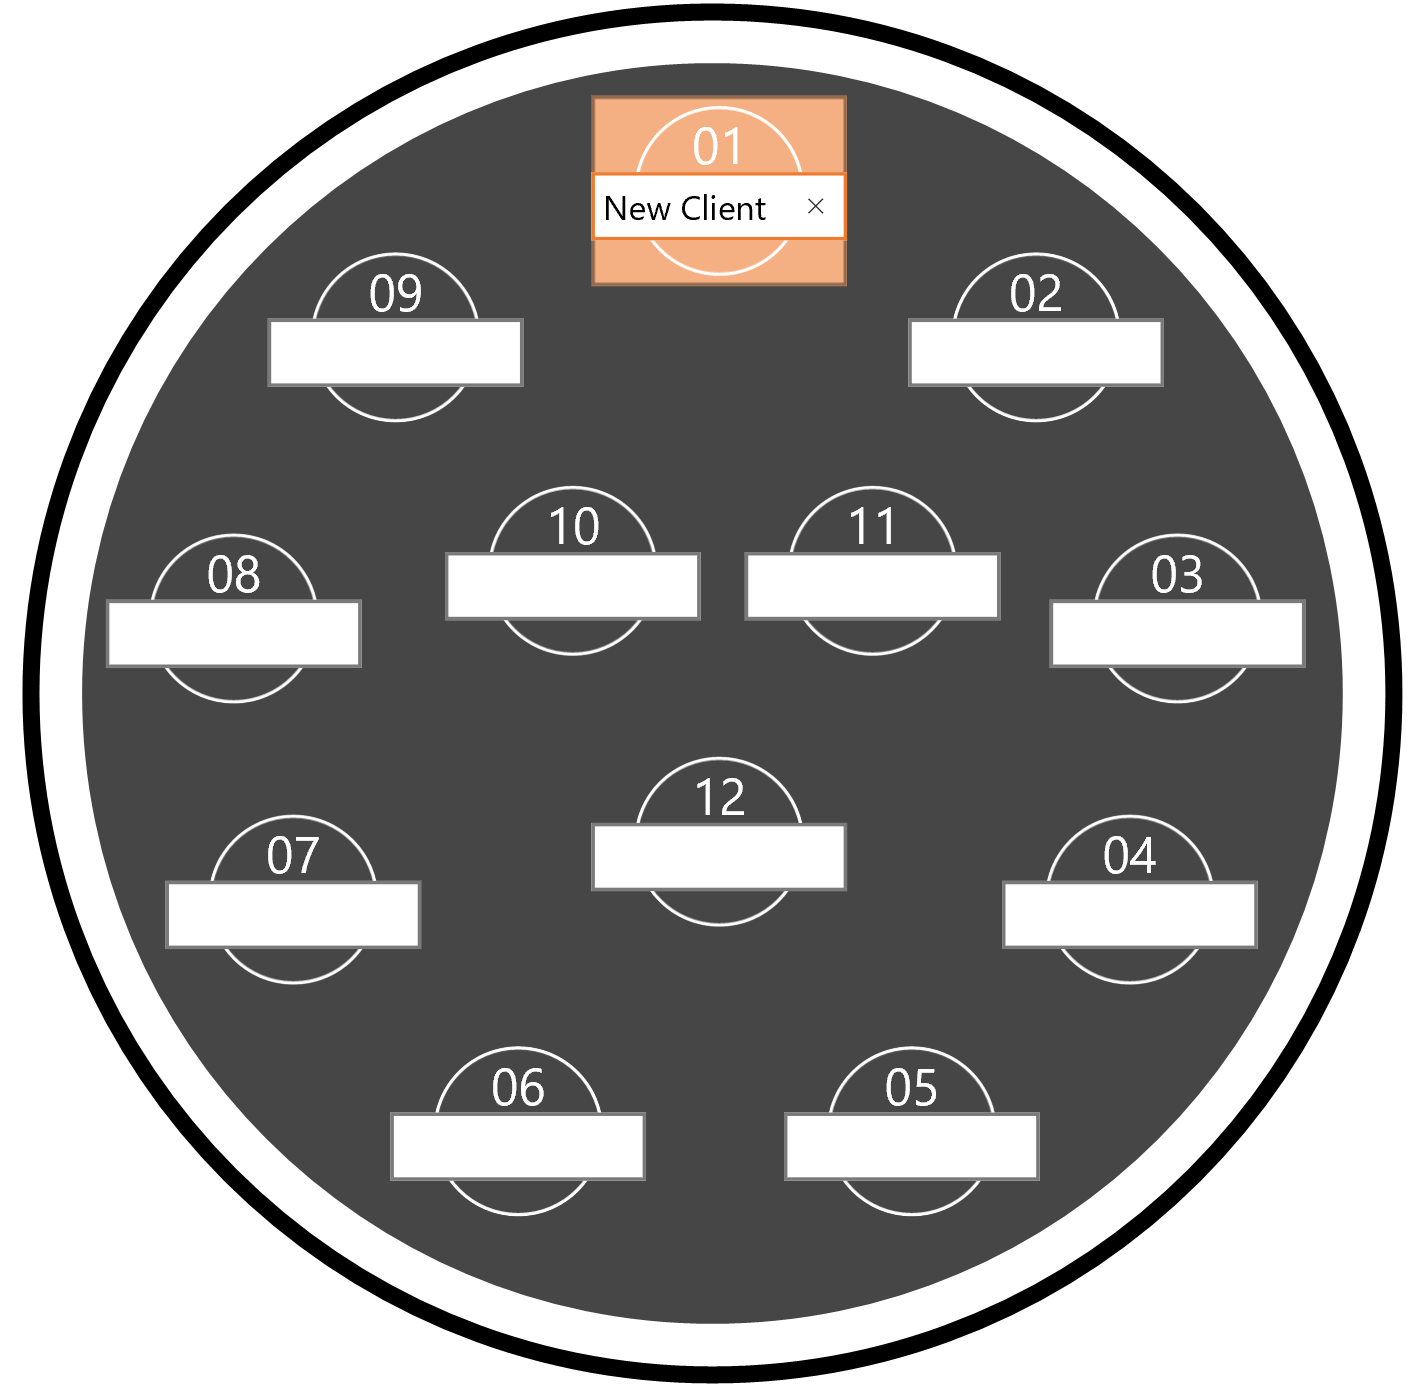
To confirm, click on the number. A menu will open which shows the worktypes you can apply. It works like in any other project.

When you chose the worktype, material and all the settings you want, click on “apply”.
Every space can be given a new name and a new worktype.
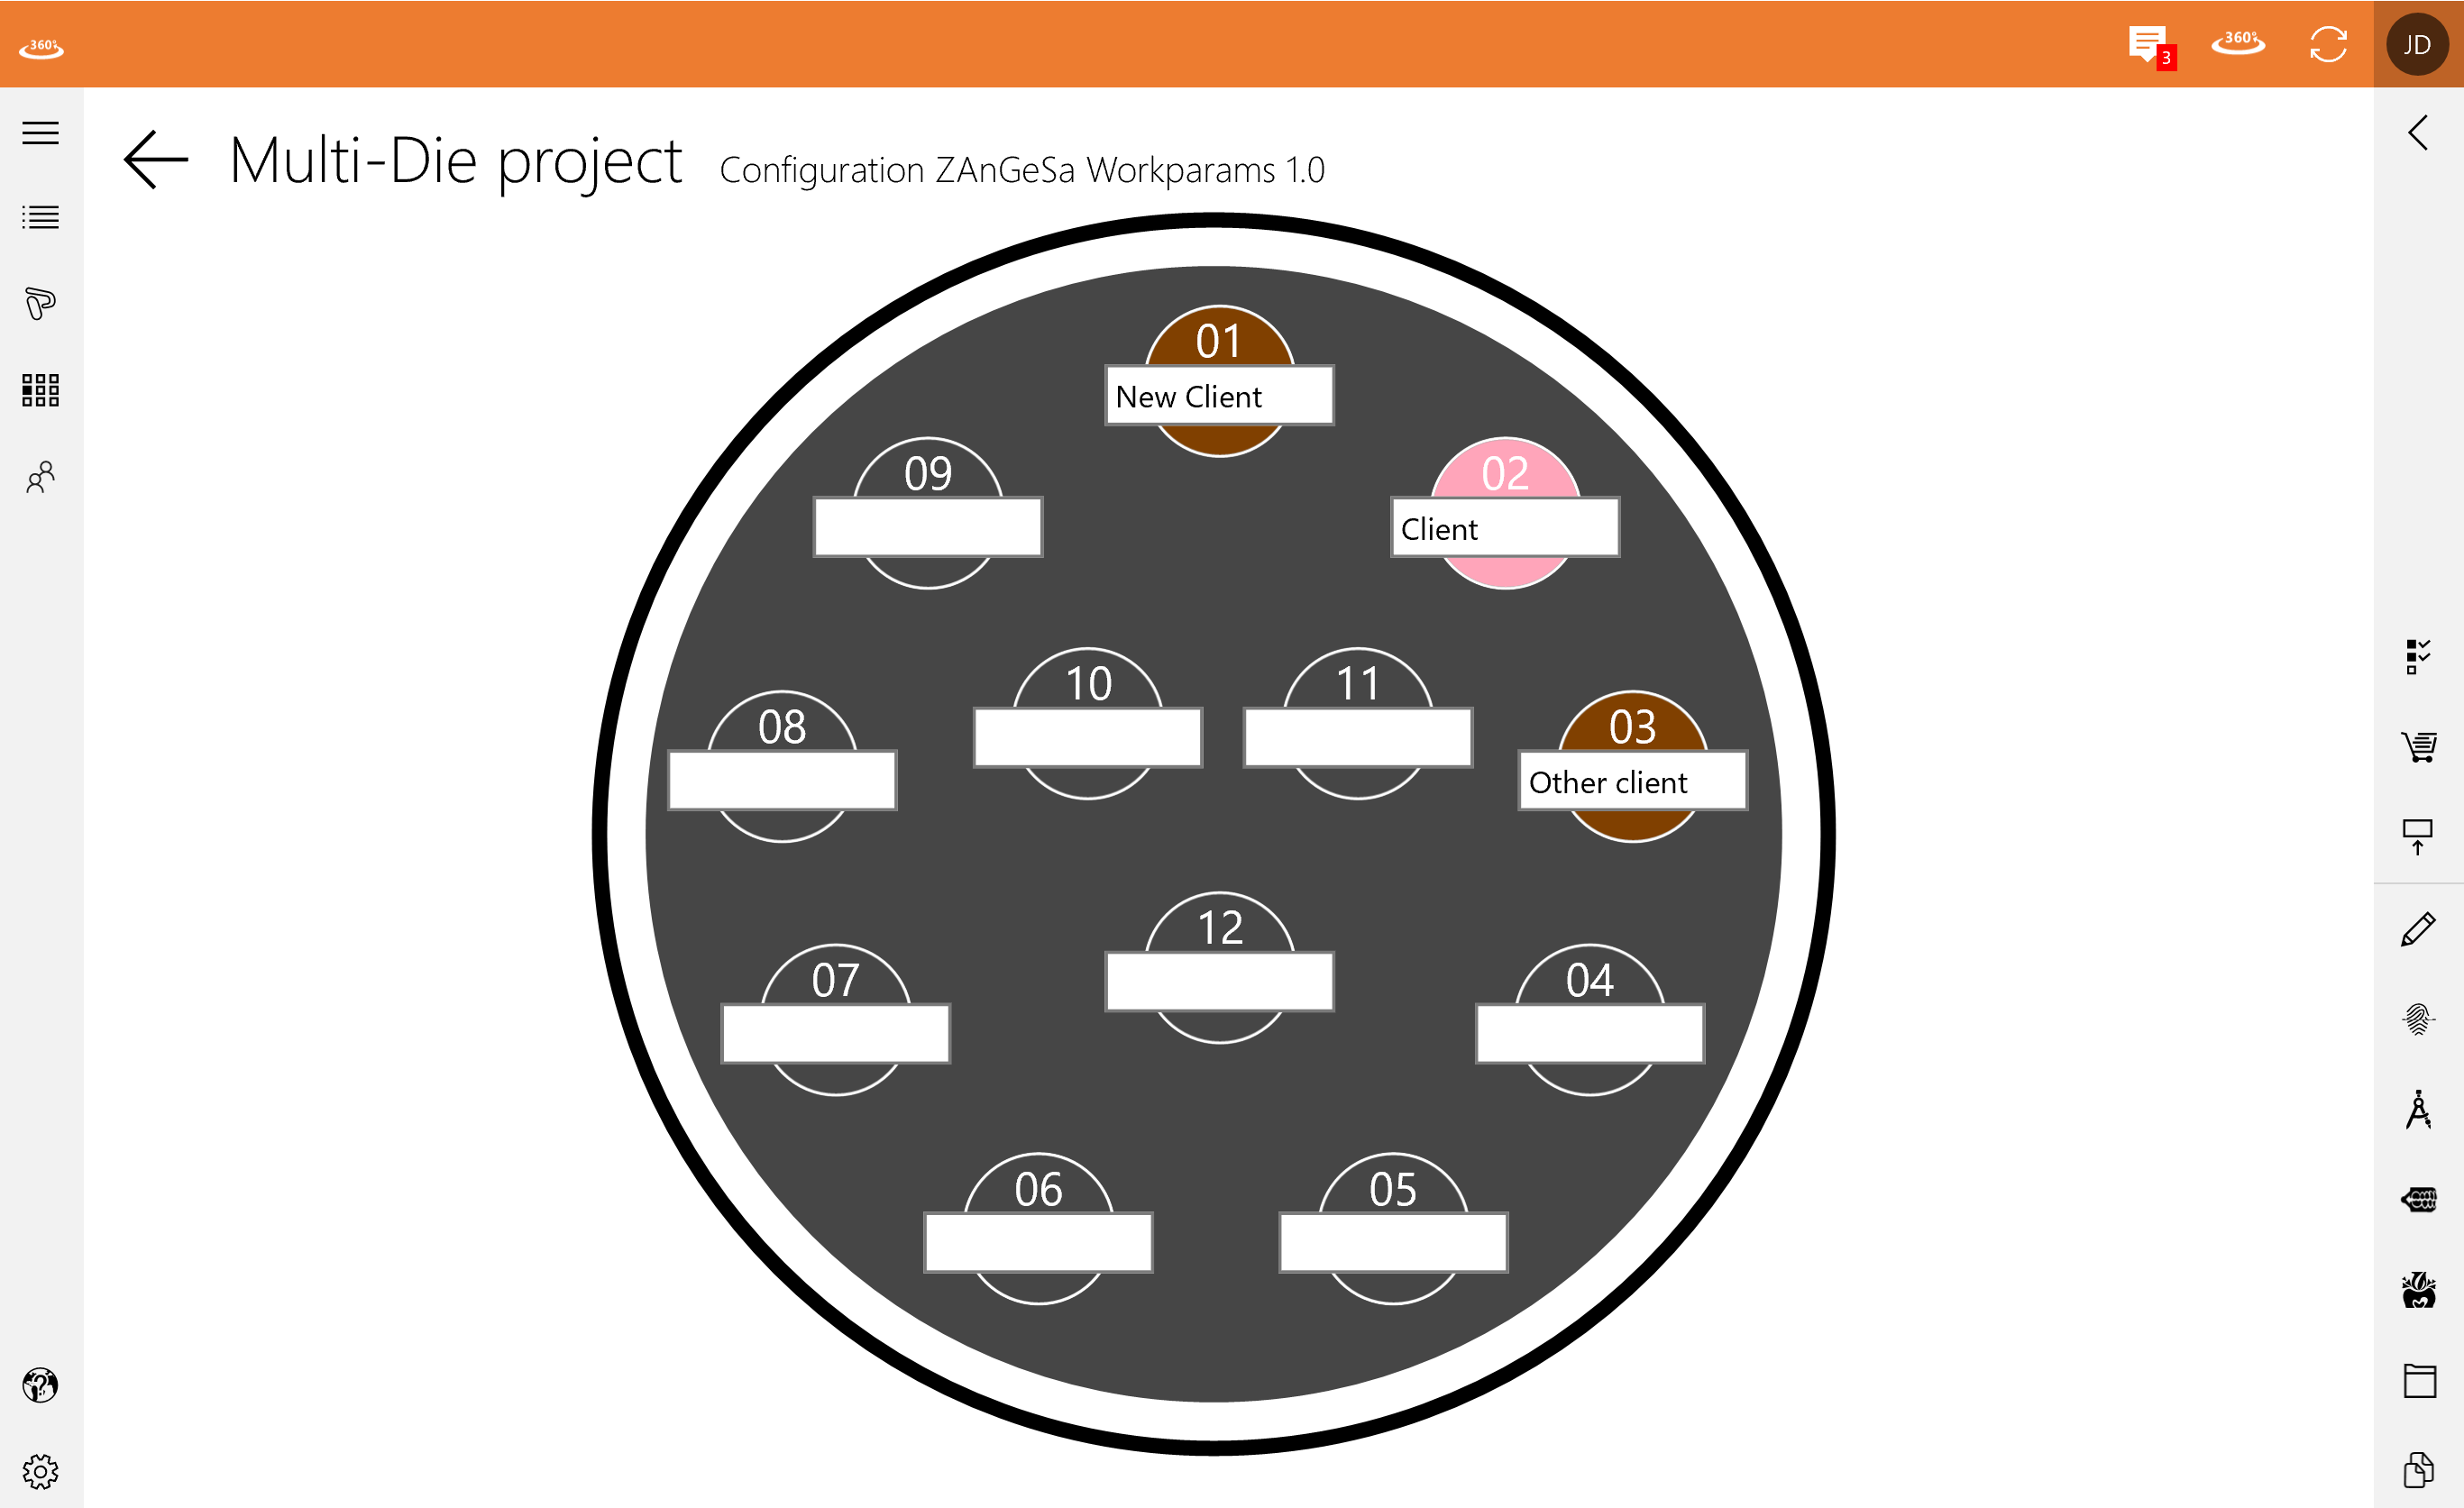
Every worktype is presented with a different colour.
The right side bar works for Multi-Die Project just as with any other project.